-
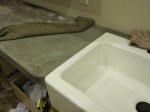
- counter edge + apron sink
-
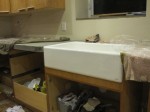
- counter with first epoxy finish
-
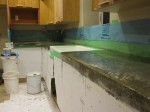
- epoxied counter
-

- buffed counter + chicken pitcher
-
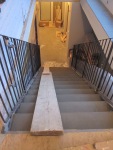
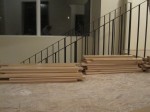
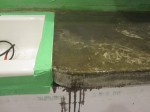
- steps to basement, curing
-

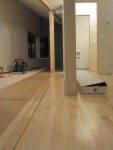
- steps to second floor, cured
-

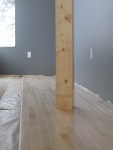
- cured steps
Kitchen counter and step-pan concrete has been poured. They both turned out very nicely–no cracks (hurray!) and smooth finishes throughout. We opted for no tinting in order to keep the raw look of the concrete itself. After much deliberation, we also decided to go for the epoxy finish on the countertops, knowing that it would be slightly shiny. After the first round of epoxy had dried, though, the surface was sanded, and I really like that texture and look much better. There will be another application of epoxy, and we may still buff that final application slightly. From what we have heard, shininess will also reduce over time. And, I think that once we have the lower cabinet doors up, the overall look will be more integrated, even if the counters remain somewhat glossy.
The steps look and feel great. They, too, will be treated with a top coat, but in a more “flat” finish. We are considering adding some grit to the basement steps in an effort to prevent slips while hauling wood down with our boots on (is it easier to prepare for the inevitability, or change the practice? We think: prepare.)
In the chicken pitcher picture (say this ten times quickly! tongue-testing-twisters at the boreal modern!), you’ll see a potential backsplash that we’re trying out. It’s the same 12×24 charcoal-coloured tiles that we have used throughout the house now, in the bathrooms, entryways, and beneath the stoves. On the far left is this tile, cut to 6×24; on the near left, it’s 4×24. We may use one of these sizes and also integrate some of the 1×1 red tiles into the kitchen backsplash.
. . . thoughts?